Adding Modern Touches to Soviet-Era Pieces
Paint techniques, hardware swaps, and interior modifications that respect the original design while making these sturdy pieces feel fresh and current.
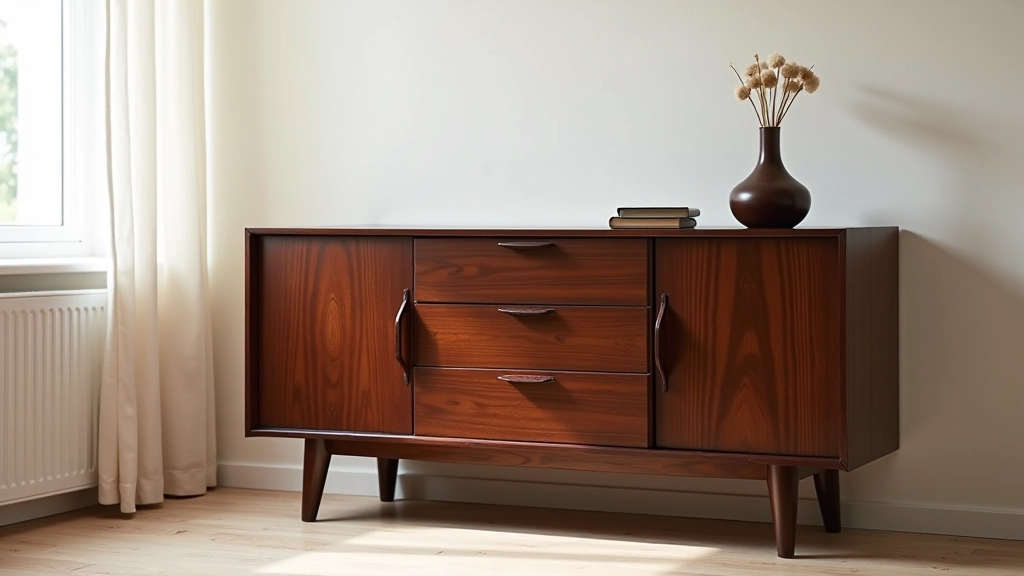
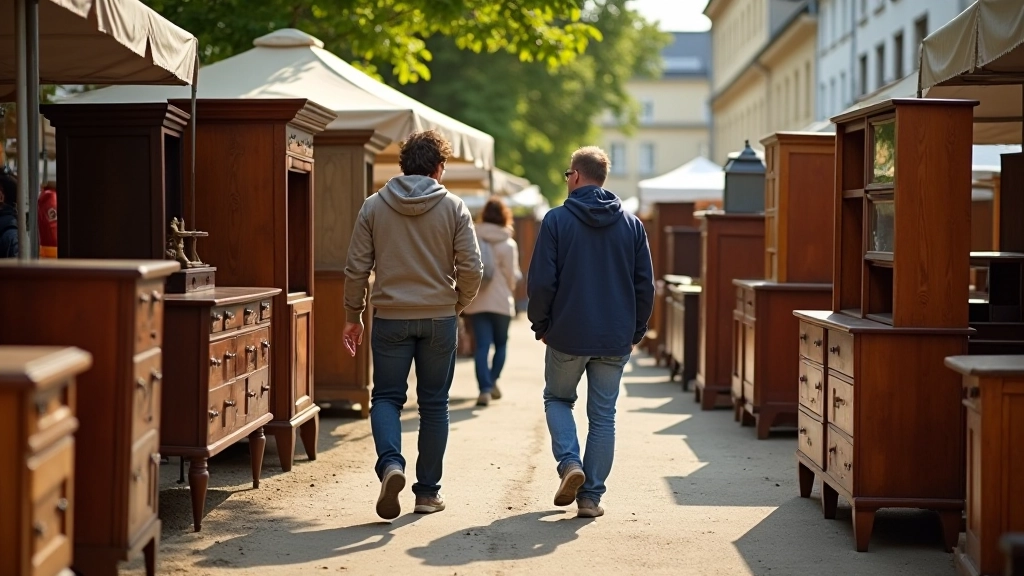
Why Soviet Furniture Deserves a Second Life
Soviet-era furniture isn't just durable — it's built like a tank. Solid wood, simple joinery, and honest craftsmanship mean these pieces can handle decades of real use. But let's be honest, that dark veneer and heavy proportions aren't for everyone anymore.
The good news? You don't need to strip everything back to bare wood. Strategic updates — a fresh paint color, new hardware, maybe some simple interior modifications — can transform a clunky 1970s wardrobe into something you'll actually want in your home. We're talking about respecting what's there while making it yours.
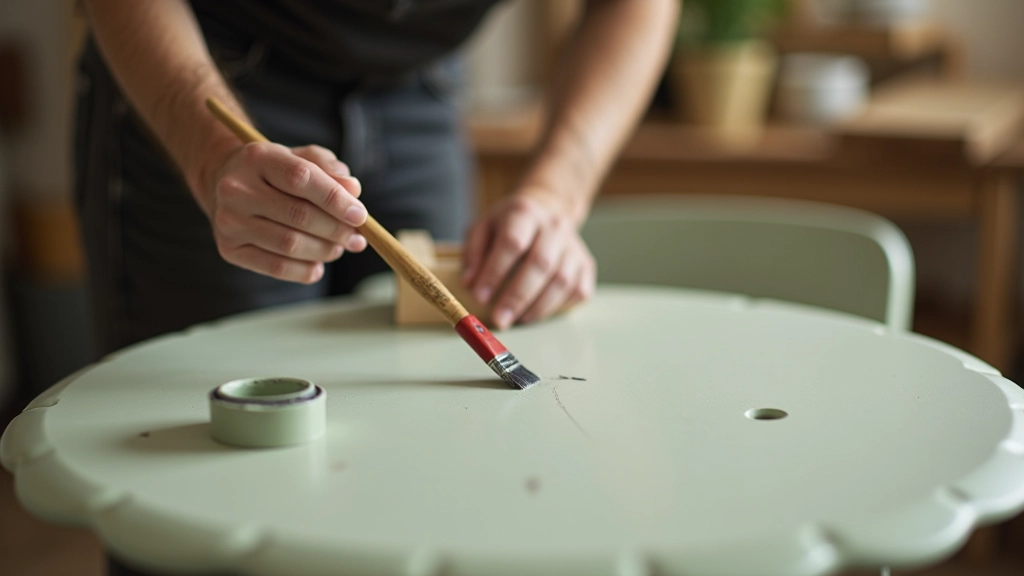
Paint: The Fastest Transformation
Paint is your most powerful tool here. A quality coat in the right color changes everything — and it's reversible if you change your mind later.
What Actually Works
- Primer first: Soviet finishes are often glossy. A good primer grips better than paint alone.
- Water-based acrylics: Fast-drying, low fumes, easy cleanup. Don't underestimate them.
- Soft, muted colors: They age better. Think sage, warm grays, soft cream — not neon brights.
- Two thin coats: Better than one thick coat. Let it breathe between coats.
Real talk: painting takes patience. If you rush, you'll see brushstrokes. Give yourself time, use decent brushes, and don't panic if the first coat looks thin — that's normal.
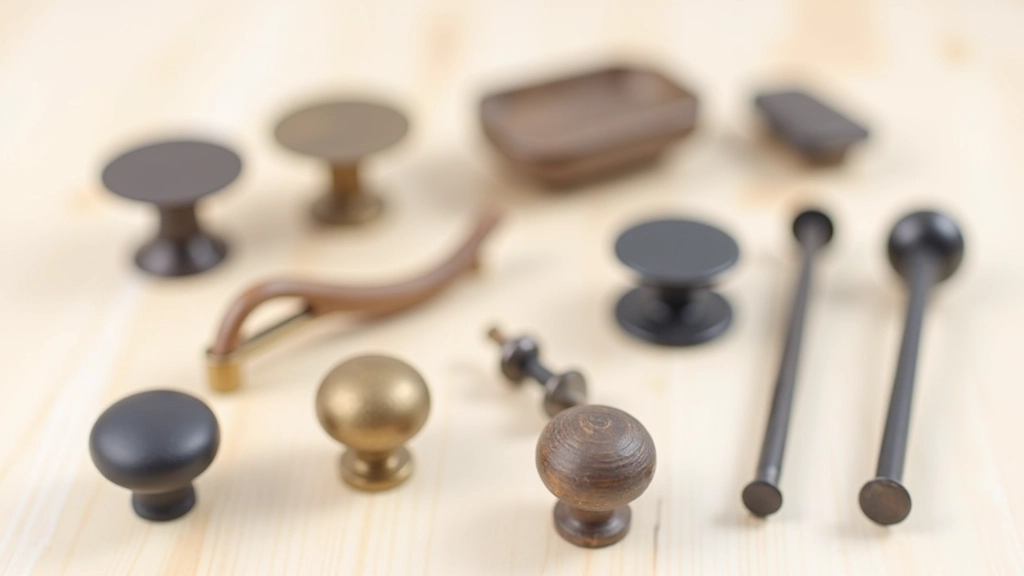
Hardware Swaps: Small Change, Big Impact
Those chunky brass handles? Gone. New hardware is one of the easiest updates and instantly modernizes a piece. You're not reinventing the wheel — you're just changing the doorknob.
Interior Modifications: Making It Practical
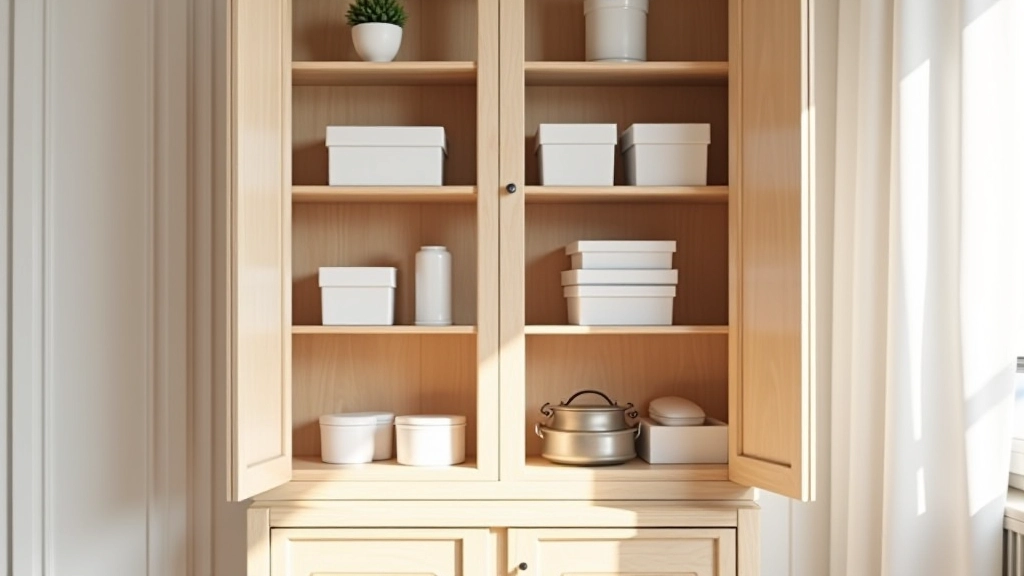
The inside of old furniture often matches the outside — dark, basic, and not particularly functional by today's standards. Here's where you can get creative without seeing the changes.
Wallpaper or paint the back: If it's against a wall, you won't see it. But you'll know it's there. Adds personality to a wardrobe interior.
Add shelf liners: Linen, wallpaper, or even contact paper. Protects the original wood and looks intentional.
Upgrade the hardware inside: Soft-close hinges and drawer slides transform how a piece feels when you actually use it. Costs more but worth it.
Paint the shelves: White painted shelves in a dark cabinet? Instantly brighter and more practical. You'll see what you own.
Key Techniques to Master
1
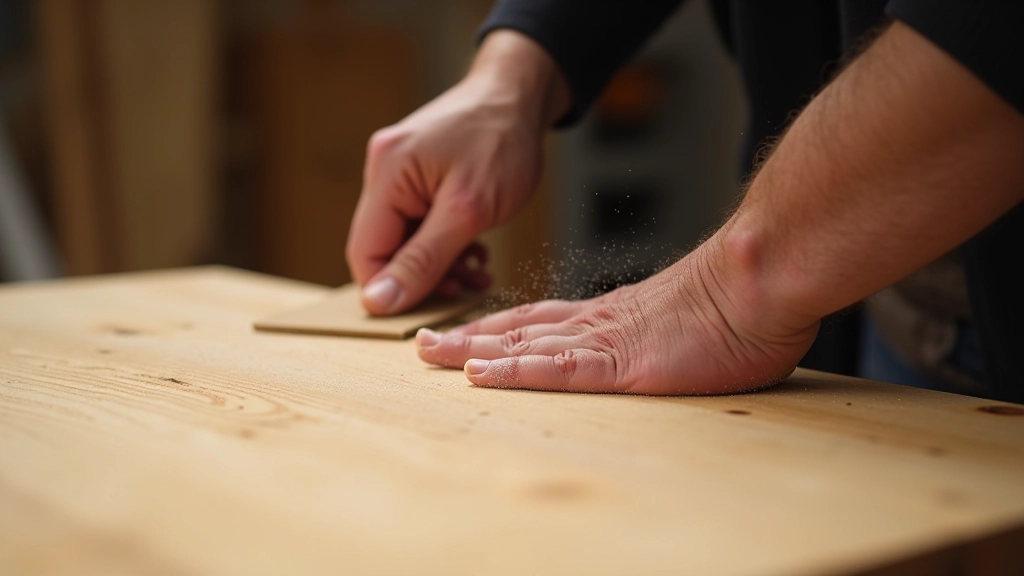
Surface Prep
Clean with TSP (trisodium phosphate), then sand lightly to help primer grip. This isn't about stripping — just breaking the gloss.
2
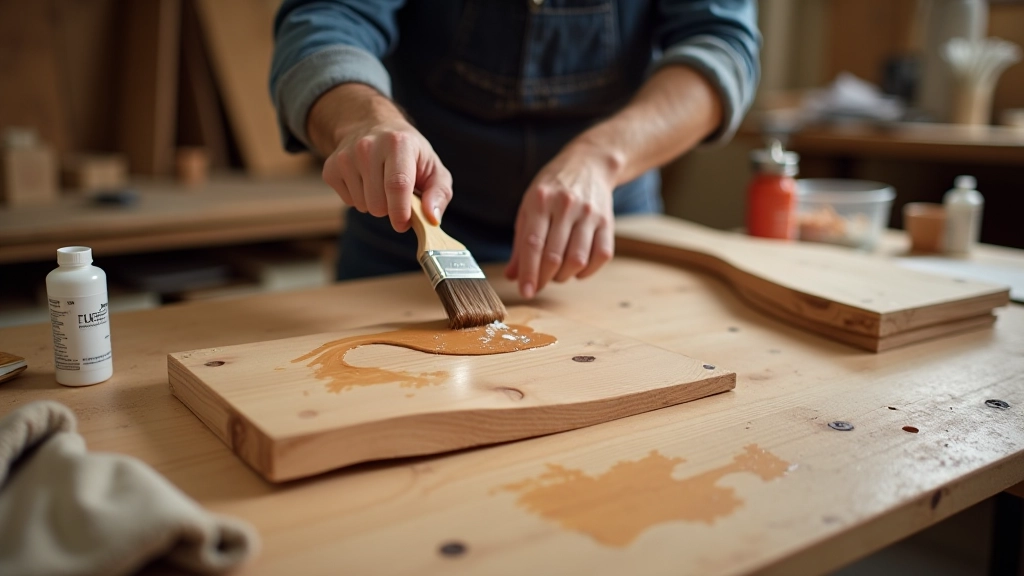
Primer Application
Use bonding primer for glossy surfaces. Thin coats. Let it dry completely. Most failures happen because people skip this or rush it.
3
Paint Selection
Acrylic latex for easy application, or oil-based for durability. Both work — choose based on your comfort level and space ventilation.
4
Final Finish
Clear topcoat protects painted surfaces from scratches and wear. Matte or satin finish looks more modern than glossy.
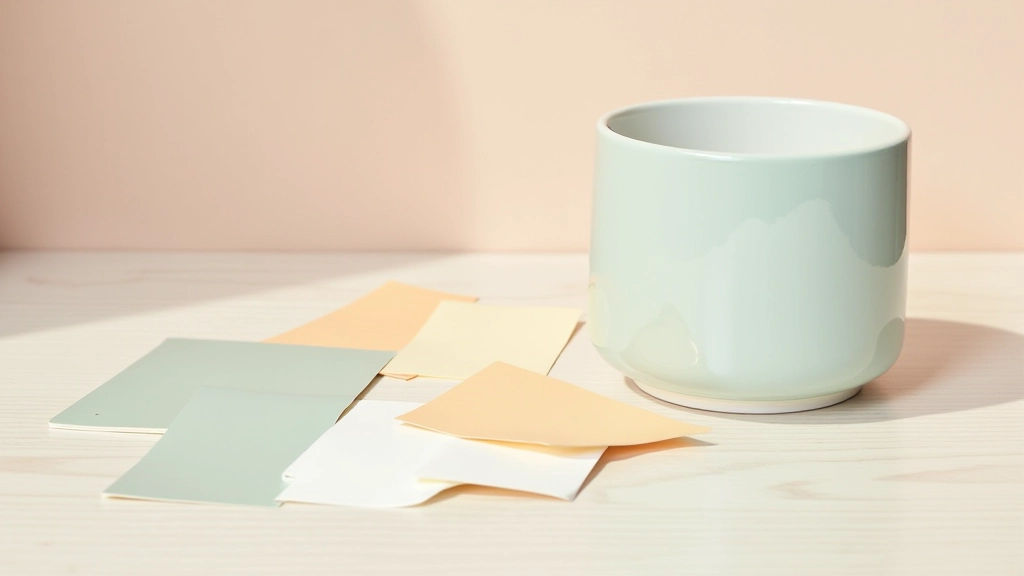
Color Choices That Work
The color you choose sets the tone for everything else. Soviet furniture is substantial — it needs colors that match that presence without feeling heavy.
Sage and muted greens: Work with almost any interior. Age beautifully. Pair well with brass or natural wood tones.
Warm grays: Not cold and sterile — grays with brown or warm undertones. They're sophisticated without trying too hard.
Soft cream and ivory: Brighten dark pieces. Make interiors feel bigger. Classic choice that doesn't date.
Charcoal or deep navy: If you're confident. These colors are statement pieces. They work but demand respect.
Get paint samples. Test them on the actual piece under your actual lighting. What looks good in the store might surprise you at home — for better or worse.
Making It Your Own
Soviet furniture doesn't need to be restored to museum condition. It needs to work for you. That's the whole point. You're not erasing history — you're writing the next chapter.
Start with one piece. Paint it. Change the hardware. Live with it for a month. You'll learn what you actually like and what doesn't work. Then tackle the next one. That's how people develop a style — through doing, not planning.
These techniques are forgiving. If the color isn't right, you can paint over it. If the hardware doesn't feel right, you can swap it. That's the beauty of working with solid, well-made furniture — it'll support whatever direction you take it.
Want to learn more about the foundations of furniture restoration?
Read our guide to sanding techniques
Disclaimer
This article provides educational information about furniture restoration techniques and approaches. The methods and materials discussed are based on common practices in wood finishing and restoration. Individual results will vary depending on the specific furniture piece, its condition, materials, and local climate conditions. Always test techniques on inconspicuous areas first and follow safety guidelines when working with paints, primers, and finishing products. If you're uncertain about any technique, consult with experienced restorers in your area. This content is informational and not a substitute for professional restoration advice.